

Most hydraulic hose fittings can bear high pressure and last for a long time but once the fittings break down or are severely damaged, you will need to replace them immediately to prevent causing more damage to your hose. Replacing hydraulic hose fittings is not difficult and even if you have no mechanical or plumbing experience, you can easily do the job on your own. To help you replace the hydraulic hose fittings on your hydraulic system, follow these easy steps.
Step 1 – Locate the problem areas
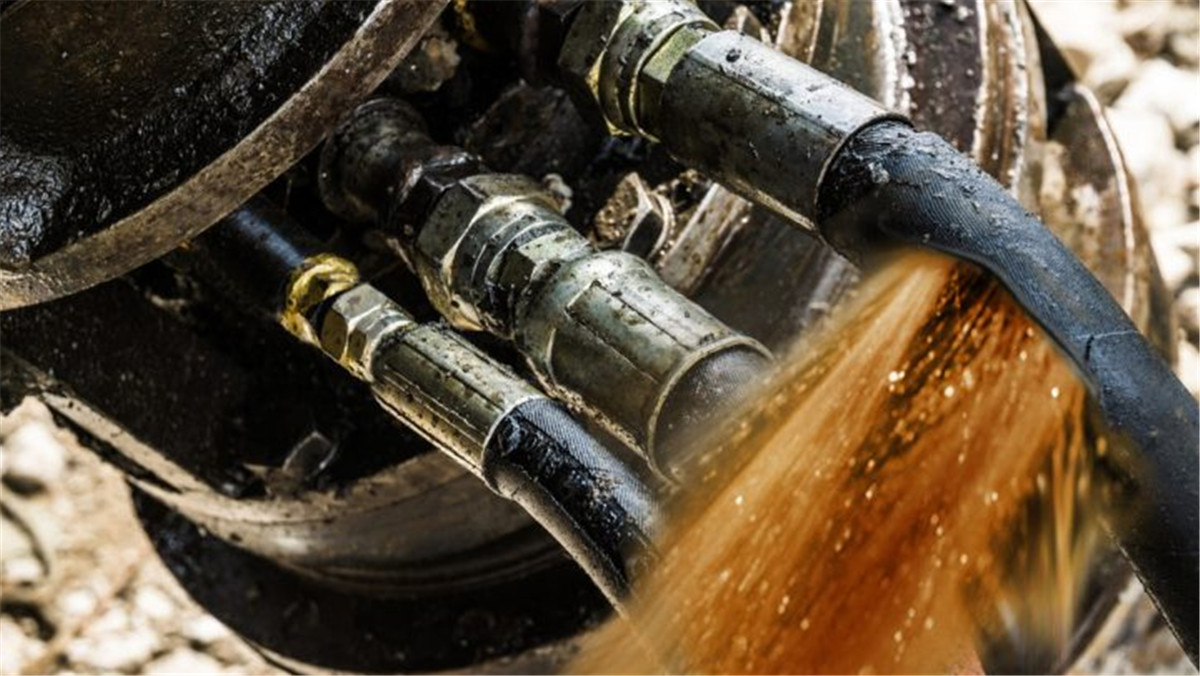
You need to do a visual inspection of the hydraulic system, to determine the extent of the damage.Find the exact damaged fittings and leaking hoses, mark the problem areas,now ready to replace the hose fittings.
Step 2 – Relieve the Pressure on the Hydraulic Cylinders
Before you attempt to repair the hose fitting, you need to relieve the pressure on the hydraulic cylinders to prevent a blow-out.
Step 3 – Remove the Hose Components
To replace the broken or damaged hose fittings, you need to remove some of the components in the hydraulic hose including the guards, the clamps, the housing and others. To avoid confusion, note the locations of these components or simply take a picture of them before you remove them. This way, it will be easier for you to return them to their proper places after you replaced the hydraulic hose fittings. After taking notes or taking pictures, you may now remove these components one by one and put them in a safe place. Label each component to make it easier for you to identify them later on.
Step 4 – Remove the Hose Fittings
Most types of hose fittings swivel when the hydraulic pump is turned on so you will need two wrenches to remove these swiveling parts. Most fittings have two couplings so you need to clamp one wrench on the side of one of the couplings to hold it steady and another wrench to turn the other coupling. If the couplings are stuck in place, you may need to apply some lubricant to help loosen them up.
In case you need to remove and replace the hose itself, you will need to loosen the fittings that are attached to the hose and pull out the hose.
Step 5 – Clean and Replace the Fittings
After removing the hose, clean the fittings using a rag and make sure that no debris or dirt enters into your machine and contaminates it. After cleaning your fittings, take out the pictures that you took before you disassembled the hose fittings and use these pictures as a guide in putting the fittings back together. Install the new fittings and components and make sure that the clamps and guards are in their proper places. As for the cylinders, make sure that you return the cylinder pins properly before you replace the snap rings that hold the pins in place.
Post time: Oct-14-2020